

Silver Brooch Shenanigans 2020
- Cailleach Dhe
- Dec 17, 2020
- 3 min read
Plan A. Plan B.
Materials: Sculpey clay, MoldMax silicone, R98 Pewter, tools
For Declan, December 2020
"No Cailleachs were burned in this process."
No sooner did I finish my first-ever pewter casting project, do I get word that my friend Declan will be receiving his (much deserved) induction into the SCA East Kingdom's Order of the Silver Brooch for his incredible blacksmithing work. It was decided then and there between his Lady and I that I would make his medallion. This is an honor and a privilege, to be able to create and gift such a memento.
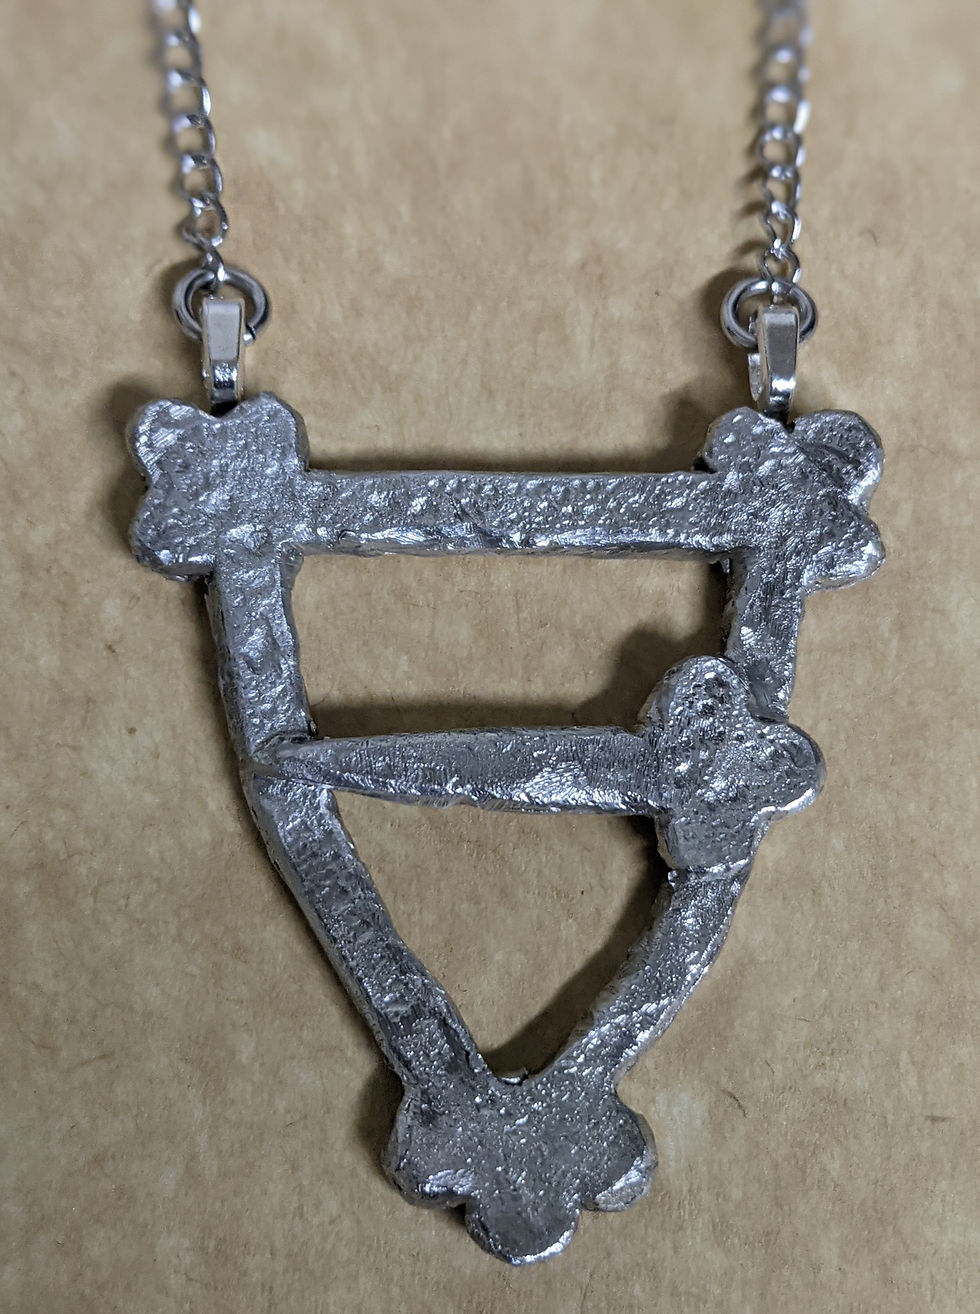
Having learned so much from my initial casting, and even more from the Shire badge casting project that followed, I changed my methodology for this project. To create the piece envisioned in my head, I would have to make an open sculpted brooch, then use a two-part mold to create the pewter piece. This, of course, increased the difficulty exponentially. Challenge accepted.
Due to time constraints in wanting to have the medallion in-hand for the Court recording session, I decided to do two versions: Plan "A", which would be this open-style brooch, where the pin laid overtop the frame, but cast as all one piece. I wasn't 100% sure of where my mold line should be, and which side (front or back) should be molded first. It was a risk. Therein entered Plan "B", which was designed as a brooch laid atop a disc, again all one piece so as to maintain stability, but doing this as well, gave me the piece of mind knowing my mold would work without question.
The initial carvings went so much easier than anticipated! I cut out the patterns for each, heat-fired my clay, did some light shaping with files, and there were my pieces to mold. Easy-peasy.
Then comes the learning lesson of this project that I will share with you, so that you do not have to exemplify what came next... Do NOT use salt dough when creating a two-piece mold out of silicone! Yes, it can be done, but oh, does it leave a lot of flash around the edges of the piece, and we won't discuss how it allows for a mold with edges that don't meet, which allows for molten pewter to escape. No Cailleachs were burned in this process, but there's a mighty unhappy folding table in my den. Use modelling clay or plasticine for this task. Please!
So. Pour pewter, open molds, and I found success in each! The first pour of Plan-A was incomplete, but worked. Plan-B was perfect! I poured Plan-A again and it, too, was perfect! With my hot-pot still running, I cast another of each and called it a day. Mission accomplished!
As mentioned, due to my misuse of supplies, I had some cleanup work to do. I used a Dremel tool and multiple types of bits. Having multiple plan-A casts, I chose different finishes: one smooth and one rustic. I used glue-on bails and a stainless steel chain to finish the medallion.
It has been such a wonderful learning and artistically expressive experience making this.
Shenanigans were delivered with days to spare, and I am so very glad to be able to have made this for such a deserving individual. Vivat, Declan!
To see my casting process from start to finish, please read:
#SCA #EastKingdom #Award #Medallion #SilverBrooch #AandS #ArtAsService #NewArt #PewterCasting #Metal #Sculpting #GetTwisted


Comments